Understanding the Importance of Re-Caulking Your Bathtub
Re-caulking your bathtub isn't just about aesthetics; it plays a crucial role in preventing water damage and keeping your bathroom safe from mold. A fresh caulk line creates a watertight seal between the tub and surroundings, safeguarding your walls and fixtures from moisture buildup. This simple yet significant DIY task can make your bathroom feel more inviting and well-maintained, enhancing its overall appearance and value.
Signs That Your Bathtub Needs Re-Caulking
Recognizing the warning signs is key to maintaining your bathtub's integrity. Look out for:
- Cracks or peeling in the caulk
- Discoloration or mold growth around the edges
- Gaps between the tub and the tile
- Difficulties in cleaning areas due to buildup
Ignoring these signs can lead to costly repairs down the line, making timely re-caulking a wise investment.
Essential Tools and Materials: What You’ll Need
Gathering the right supplies beforehand can make the project smoother and more efficient. Here’s what you'll need:
- Silicone caulk, preferably mildew-resistant
- Caulk gun
- Painter’s tape
- Utility knife and caulk removal tool
- Shop vacuum or a damp cloth
- Rubbing alcohol for cleaning
Ensure you have quality materials for a long-lasting finish that protects your bathroom.
The Step-by-Step Process to Change Your Tub’s Caulk
Here’s a detailed breakdown of how to re-caulk your bathtub:
- Remove Old Caulk: Use a utility knife to carefully cut the old caulk along the edges. Gently scrape it away with a caulk removal tool.
- Clean the Surface: Thoroughly clean the area using rubbing alcohol. Vacuum any debris to ensure a clean and dry working environment.
- Prepare New Caulk: Load your caulk gun with silicone caulk, cutting the tip at a 45-degree angle for the right flow.
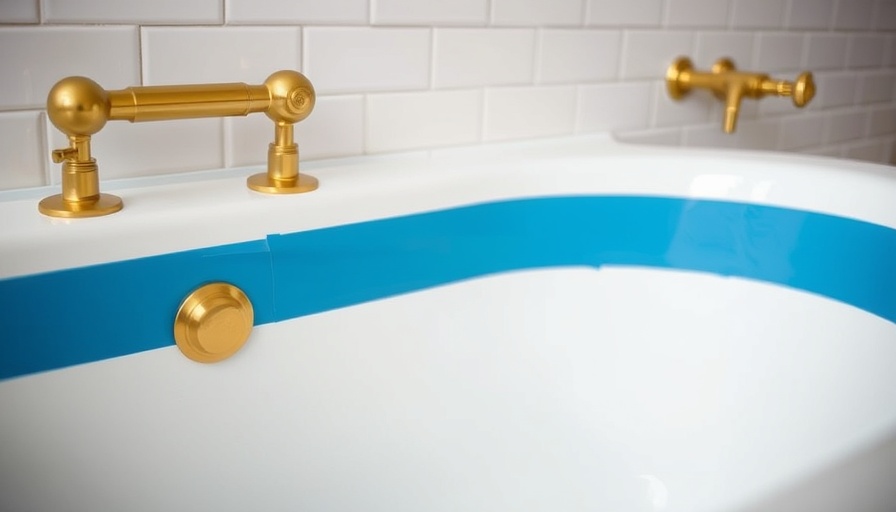
- Apply New Caulk: With steady hands, apply a continuous bead of caulk along the edge. Using painter’s tape can help you achieve a straight line.
- Smooth the Caulk: Run your finger or a smoothing tool along the bead to create a clean, professional finish.
- Clean Up: Immediately remove the painter’s tape before it dries, and keep the area clean for 24 hours to allow the caulk to cure.
And just like that, you’ll have a freshly caulked bathtub that enhances both the functionality and look of your bathroom!
Maintaining Your Fresh Caulk for Longevity
Now that you’ve completed your re-caulking project, regular maintenance is essential for longevity. Ensure to clean your bathtub regularly with gentle, non-abrasive cleaners to avoid damaging the new caulk. Inspect the caulking every few months for cracks or discoloration and address any issues promptly to prevent further damage.
Conclusion: A Simple Upgrade With Big Rewards
Re-caulking your bathtub is an accessible DIY project that provides significant returns in terms of safety and aesthetics. By investing just a few hours and a small amount of money, you can enhance your bathroom's look and prevent costly water damage. Remember, maintaining a clean and functional bathroom reflects your overall care for your home, making it a happier and healthier space for you and your family.
 Add Row
  Add
Add 


Write A Comment