Add Row
Add Element
cropper
update
VIRGINA REAL ESTATE NEWS | VA HOME BUZZ
update
Add Element
  • Home
  • Categories
    • DIY
    • REAL ESTATE
    • HOME DESIGN
    • RECIPES
    • Home Improvement
    • Maintenance & Repairs
    • Extra News
    • Remodel On A Budget
July 17.2025
3 Minutes Read

Discover the Best Way to Fix a Sticking Painted Door Now

Gray interior door in hallway; painted door fix.

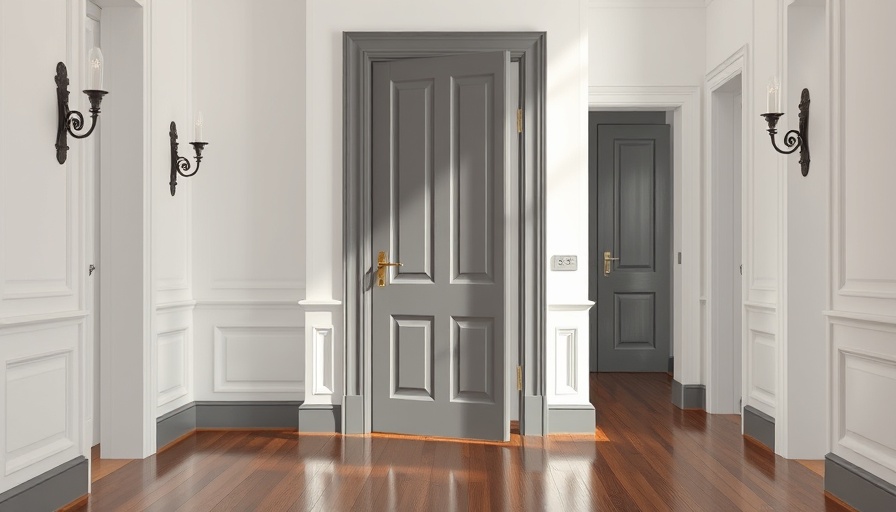
Unraveling the Mystery of Sticking Doors

If you’ve ever had the misfortune of opening a freshly painted door only to hear it screech or feel it tugging at the jamb, you're not alone. Many homeowners face this irritating dilemma that often stems from humidity, imperfections in painting, or the door’s alignment. Understanding why your door sticks is the first step in resolving the issue effectively.

Fabrication Flaws: The Root Cause?

Even the most diligent DIYers can face challenges with painted doors. As it turns out, wood doors expand and contract with changes in humidity, which can lead them to stick, especially in high-moisture areas like kitchens or bathrooms. Standard manufacturing techniques may not account for this movement. Recognizing these factors can make the difference between frustration and effective repair. Ensuring proper sanding and priming before painting can significantly enhance the paint's durability and improve the door's performance.

Three Solutions to Get Doors Moving Smoothly

Drawing from extensive research and community feedback, I tested three products that have received rave reviews from homeowners and professionals alike. These products offer practical solutions to prevent your painted doors from sticking:

  • Sliding Door Track Lubricant: Often overlooked, a good sliding door lubricant designed for high-performance doors can help reduce friction, ensuring seamless operation.
  • Adjustable Hinges: For those persistent sticking problems, consider upgrading to adjustable hinges, which make it easy to align your door precisely and mitigate issues.
  • Door Stop Replacement: Regular use can wear out door stops, causing misalignment; hence, replacement can help maintain the integrity of the door’s movement.

Beyond the Fix: Consider Long-Term Solutions

While immediate fixes might provide a quick relief, considering long-term solutions can save the headache down the line. Opting for moisture-resistant doors in humid regions or ensuring your home is well-ventilated can significantly extend the lifespan of your door and keep it functioning efficiently.

Personal Experience: A DIY Journey

As a homeowner and a regular DIY enthusiast, I remember the joy of painting the doors in my house only to face the annoyance of them sticking. My experience reminded me that no project is without its challenges. It is through experimentation and learning from others’ experiences that I managed to discover effective solutions. Sharing our stories and insights fosters community and invites collective wisdom, ensuring that we can all avoid the same pitfalls.

Seeking Feedback and Recommendations

Have you recently dealt with a sticking painted door? Share your stories and solutions to help others facing similar dilemmas in our community. Engaging in this dialogue enriches our understanding and equips us all with better strategies to tackle home maintenance challenges.

Don’t let your painted doors keep you from enjoying your beautiful home. With a little bit of know-how and the right products, you can easily keep them functional and fabulous!

If you’re interested in more practical home improvement advice or DIY tips, be sure to explore our other articles or consider subscribing to our newsletter for regular updates.

Home Improvement

0 Comments

Write A Comment

*
*
Related Posts All Posts
07.19.2025

Discover Exciting Fenestration Careers: Insights from SEH BAC's Work Experience Week

Update Unlocking the Future: Careers in Fenestration This week at SEH BAC, we opened our doors to two eager Year 10 students as part of their work experience program. This initiative acts as a bridge, connecting young minds to the exciting and diverse world of fenestration careers in the UK. Through engaging experiences, these students discovered the myriad roles available in our industry. Exploring the Depths of Fenestration Roles During their placement, the students navigated through various departments in our Head Office, getting a real feel for how different roles contribute to home improvements. They shadowed our dedicated teams in administration, accounts, customer service, and warranty — all critical to delivering seamless customer experiences. Witnessing firsthand how our ethos emphasizes collaboration made a significant impact. From Office to On-Site: Experience in Action But it wasn't just a typical desk job! The students also accompanied our seasoned project managers on-site. They marveled at the artistry involved in conservatory builds, window, and door installations. Each visit was a masterclass in professionalism and craftsmanship, where they observed how problem-solving skills are essential! Feedback from the Next Generation The students described the experience as eye-opening, fast-paced, and undeniably fun! This dynamic exposure not only enriched their understanding of fenestration but also expanded their career horizons. It's vital for today's youth to realize that the home improvement industry offers varied pathways to pursue their dreams. Ultimately, initiatives like our work experience week are crucial for fostering greater engagement with young talent. For homeowners and prospective buyers, this insight into our work could inspire innovative upgrades and enhancements for their homes. As such, understanding the workforce behind their home improvements can deepen their appreciation of quality craftsmanship and service.

07.16.2025

How to Hide Your Attic Door with a Tongue and Groove Ceiling

Update Transforming Your Home: The Magic of Hiding Attic Doors For many homeowners, hidden projects like concealing an attic door can become a source of frustration over time. It's one of those things that you notice but can never seem to find the motivation to tackle—until inspiration strikes! Recent home improvement trends are showcasing innovative ways to enhance functionality while crafting an aesthetically pleasing space. One effective method is using tongue and groove planks, which not only solve design dilemmas but elevate the entire atmosphere of a room. Step-by-Step Guide to Concealing Your Attic Door With a little bit of planning, you can take your hallway from cluttered to charming. Here’s a simple step-by-step process to hide your attic door using tongue and groove ceiling boards: 1. Gather Your Tools and Materials Begin by collecting the necessary tools, which include tongue and groove planks (like the recommended 5 1/4" wide pre-primed pine shiplap boards), a miter saw, construction adhesive, 2-inch 16-gauge finish nails, caulk, wood filler, and paint for finishing. Having everything ready ensures a smooth project flow. 2. Clear and Prepare the Area Firstly, remove any existing trim, molding, and the attic door itself to create a clean workspace. This makes your new project easier to install and results in a more polished final look. 3. Measure and Plan Smartly Before you start cutting, take the time to measure your ceiling accurately. Sketch a mock-up layout using scrap pieces to visualize how the planks will fit together. This initial step helps in avoiding awkward gaps along the edges. 4. Installation: Begin with the First Plank Apply construction adhesive to the back of your first plank, starting at the edge of the attic door for a symmetrical look. Secure it in place with nails and continue patterning this way throughout the rest of the ceiling. 5. Smart Cuts for a Seamless Finish As you progress, cut each subsequent plank at a 45° angle where it meets the attic door. This eliminates visible seams and enhances the overall aesthetic appeal. Continue adhering these planks in the same manner until you have completely covered the desired area. Why This Project Matters This simple yet transformative project not only reduces visual clutter but also enhances the value of your home. In the world of home design, the “cottage-core” aesthetic is gaining popularity, and incorporating tongue and groove ceilings can easily provide that cozy, welcoming charm. Inspiration from Homeowners Consider sharing your journey with friends and family. Document the process and invite them to join you; this fosters a sense of community while also inspiring others to take on their home improvement projects. Personal stories often drive enthusiasm—like the time one local couple recovered an oft-neglected attic space by transforming it into a delightful reading nook. Your Turn to Shine! Are you ready to transform your home? With just a few supplies and some creative energy, you can tackle this project and more. So roll up your sleeves and take the plunge into DIY. Not only will it bring you joy to see the fruits of your labor, but you’ll also create a beautiful space that reflects your personality. Take action! Dive into your project today, and watch how transforming just one area can elevate the entire character of your home.

06.26.2025

Unlocking Your Options: What Size Extension Can You Build Without Planning Permission in 2025?

Update Understanding Your Home's Potential With Permitted Development HomeOwners and Home Buyers, especially those in the UK, should be aware of the opportunities permitted development rights offer for enhancing their properties without the hassle of full planning permission. From cozy side extensions to spacious rear add-ons, knowing the rules can unlock possibilities you'd never thought imaginable. What Are Permitted Development Rights? Permitted development rights allow homeowners to make certain improvements without needing a full planning application, simplifying the process immensely. These rights are a fantastic option for those looking to expand their living space and increase the value of their homes. Single-Storey Extensions: How Much Can You Build? If you're considering a single-storey extension, here’s what to keep in mind: A detached house can be expanded by up to four meters without requiring planning permission! If you’re in a semi-detached or terraced property, you can extend by three meters, or up to six meters with prior approval—which is a smoother route than expected, provided you notify your local council appropriately. Double-Storey Extensions: Tread Carefully While dreaming of doubling your space, remember that double-storey extensions come with stricter regulations. They can’t extend more than three meters from your house's original rear wall and must maintain sufficient distance from the rear boundary. It’s a bit more complex, but still doable! Side Extensions: What's Allowed? Side extensions present unique challenges but can enhance your home's exterior significantly. These extensions, like their single-storey counterparts, should not exceed four meters in height and must not be wider than half the original house—ideal for preserving the character of your neighborhood. Your Local Area and Its Regulations Don't forget conservation areas—extensions in these regions may have limitations, especially regarding size and design. Always consult with local authorities to ensure you’re proceeding within the guidelines, as failing to do so can lead to costly mistakes. Conclusion: Take the Step Forward! As a homeowner or buyer, understanding these permitted development rights not only helps you envision your dream extension but also streamlines the process, allowing you to enhance your living space confidently and creatively. So why wait? Dive into your home improvement journey today, and don’t hesitate to reach out for professional guidance to transform your ideas into reality!

Terms of Service

Privacy Policy

Core Modal Title

Sorry, no results found

You Might Find These Articles Interesting

T
Please Check Your Email
We Will Be Following Up Shortly
*
*
*